Install Rustdesk Client - MAC
Steps for Installing the Rustdesk Client
Note* - This will allow Paragon Access to your Desktop - DO NOT DO THIS IF YOU DO NOT WANT TO ALLOW REMOTE ACCESS
| Go to the Downloads Folder and select the Rustdesk Download | 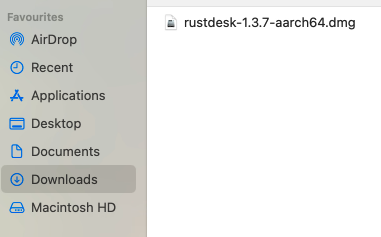 |
| Double Click the File name to mount the image, a new folder window should pop up | 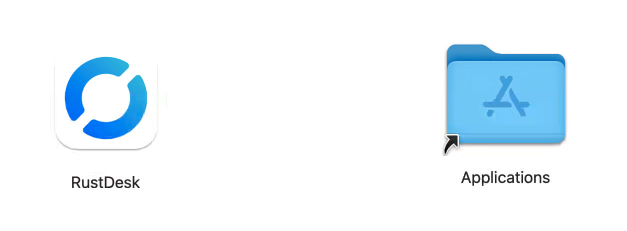 |
|
Select the RustDesk icon and drag it into the Applications Folder Go to the Applications Folder. The RustDesk software is now available for use. |
 |
|
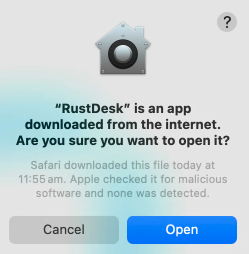
Double Click the file. A warning will appear. Select "Open" |
 |
|
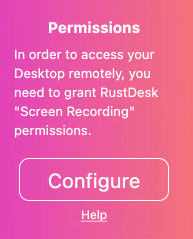
You will then see the Home Screen for Rustdesk. On the Left hand side you will see
|
 |
|
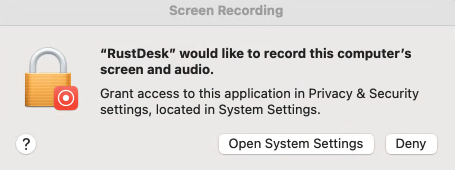
Select "Configure" and another pop up window will appear |
 |
|
Select "Open System Settings" and you will see the settings for "Screen & System Audio Recording" |
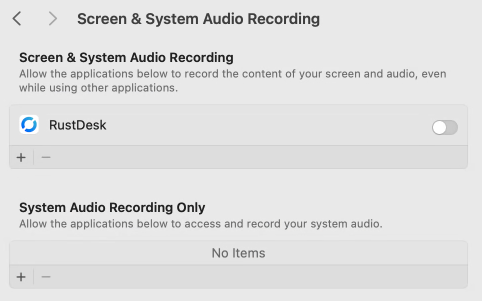 |
| Use the toggle on the right to enable Rustdesk - You will need to use your password to Authenticate | 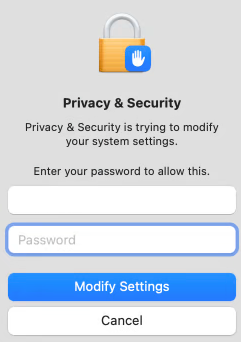 |
| Then Select "Quit & Reopen" | 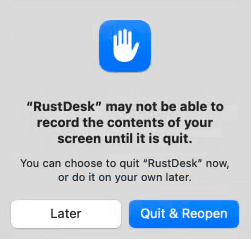 |
| The Rustdesk software should restart. | 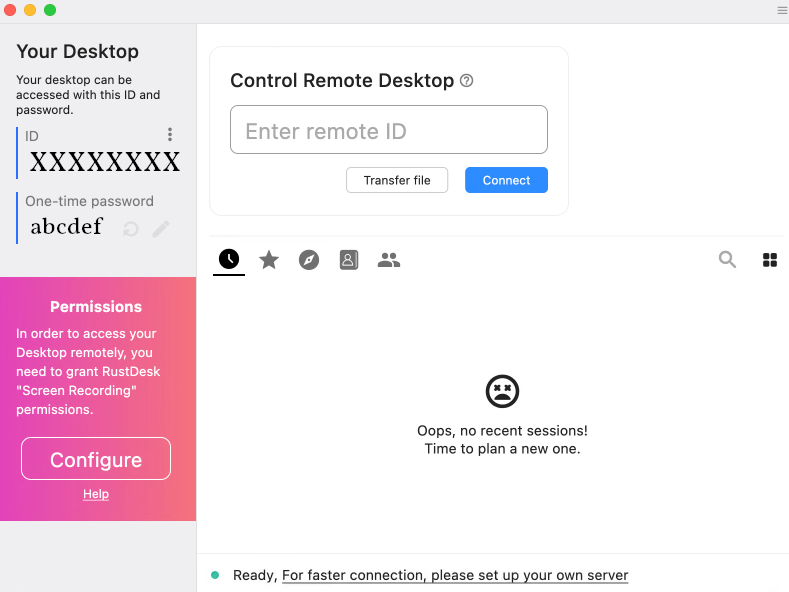 |
| Select "Configure" and a pop up window will open requesting Accessibility Access | 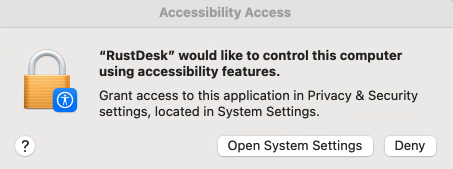 |
| Select "Open System Settings" and you will see the settings for "Accessibility" | 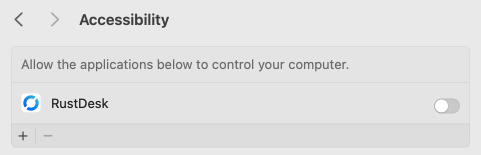 |
|
Use the toggle on the right to enable Rustdesk - You will need to use your password to Authenticate Go back to the Rustdesk Software and select "Configure" again |
 |
| This should now reappraise the permissions changed in the system and change selection to "Install" | 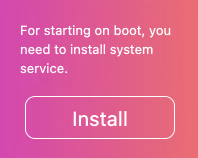 |
|
You DO NOT have to install this as a service to run at Boot time. This is not Necessary. You can simply start the Rustdesk service whenever you want to allow remote access. Configuration |
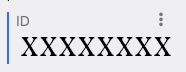 |
| On the left hand side is the ID. Above the ID Number, there are 3 vertical "dots". Select them to bring up the settings. | 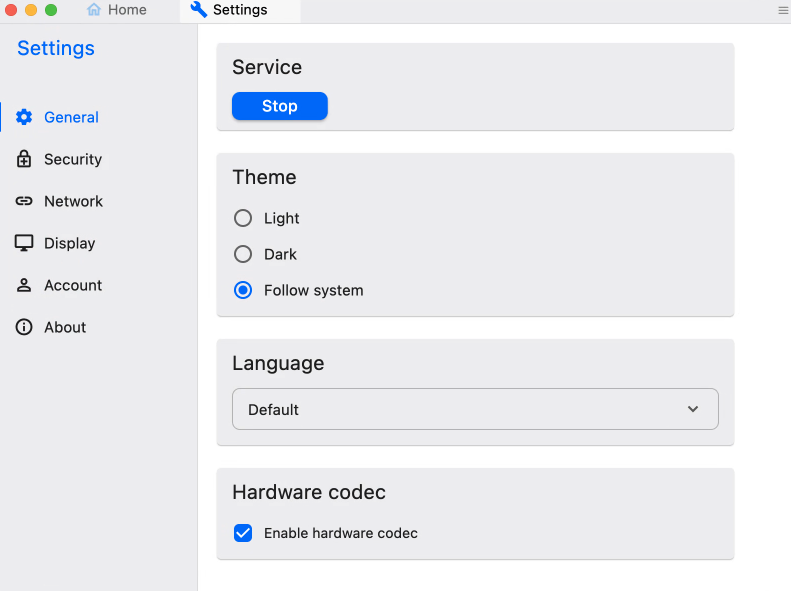 |
| Select "Network" | 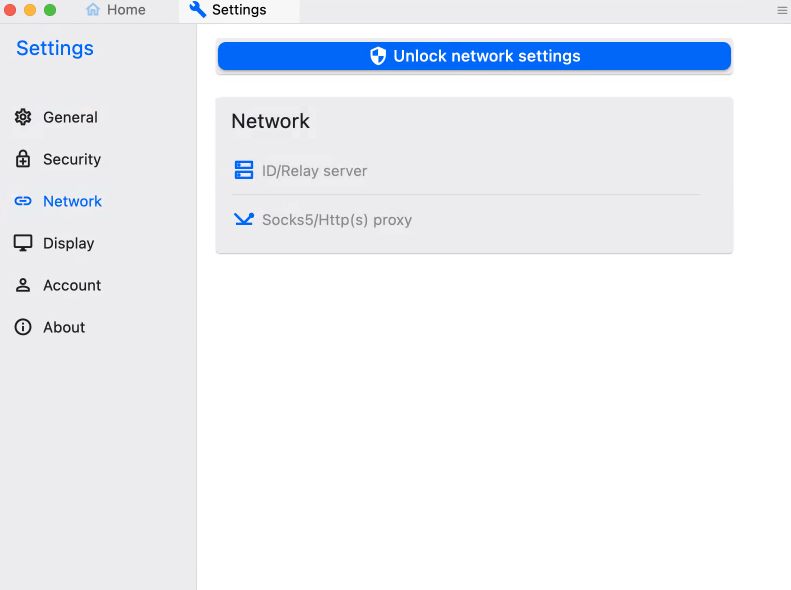 |
| Select "Unlock Network Settings" and a pop up will appear asking for your password to authorise this change | 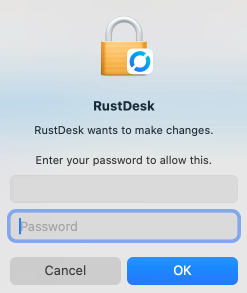 |
|
Select "ID/Relay Server" and a settings window will open. Enter the information as follows -
Then select "OK" |
|
| At the top of the window, select "Home". |  |
|
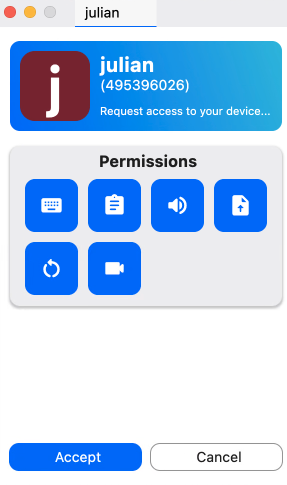
This procedure has set the access to the Paragon Group Server. Only systems connected to this server have the ability to connect to other systems on the network. A basic install of Rustdesk cannot connect to a machine setup for the Paragon Group network. The number displayed as your ID is now available to give out for access to your computer. Always consider who has this number, and who can take control of your computer. The One Time Password does NOT need to be given out. Upon connection using the ID, the user at the computer (you) can simply click "Allow" to enable external/remote accesss to the desktop. Permissions can be restricted at this point. |
 |
|
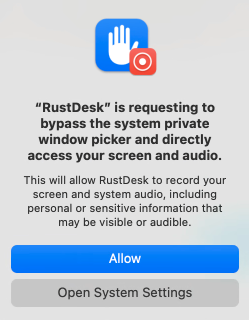
The last pop up will then confirm your selection to allow Rustdesk to access your Desktop.
As an explanation, all of these remote access platforms "record" your screen and audio. They then package it in real time and send that as a video file to the other end, then accept inputs to move and select on the local side. They do not generally create a file of this recording, or record whilst no one is around. |
 |